
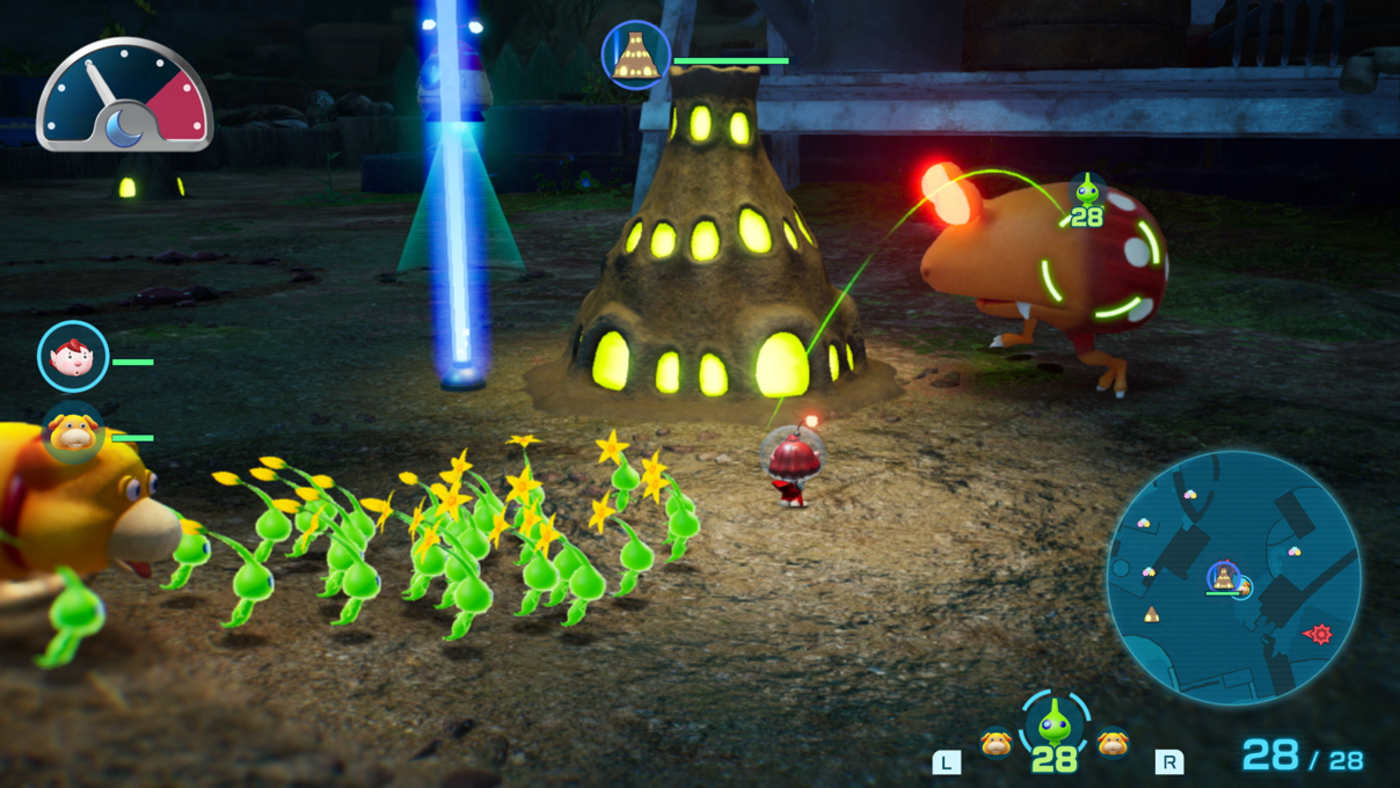
Encountering a massive, golden-backed threat in Nintendo's latest botanical RTS adventure can completely disrupt your expedition. The Pikmin 4 gildemander stands out as one of the most mechanically unique and visually striking boss encounters in the entire game. Whether you are exploring dark subterranean caves or navigating Olimar's Shipwreck Tale, running into a Pikmin 4 gildemander requires careful squad management, precise positioning, and an understanding of its unique mechanics.
As the adult counterpart to the smaller Gildemandwee, this salamander-like creature introduces a frustrating hazard that no other enemy can replicate: it actively interferes with your Treasure Gauge. Preparing for this encounter means understanding its behavioral patterns, learning how to peel away its armored back, and exploiting its vulnerabilities without sacrificing your precious squad.
Overview and Core Statistics
Belonging to the Amphibiland family and cataloged scientifically as Salamandra falsaurum, this beast commands respect through its heavy armor and overwhelming appetite. Unlike typical wildlife that features a strict limit on how many followers can be ingested at once, this creature features an unlimited capacity during its sweeping tongue attacks.
| Metric | Detail | | :--- | :--- | | Family | Amphibiland | | Scientific Name | Salamandra falsaurum | | Piklopedia Number | #63 | | Base Health | 6,000 HP | | Weight | 20 | | Max Carriers | 40 |
Community reports indicate that managing your positioning is essential right from the start. Frontal engagements almost always result in disaster because its expansive, sticky tongue can snatch nearly your entire active group in a single motion.
Physical Appearance and Unique Biology
At first glance, the creature looks like a broad, deep brown salamander with rugged, scale-like protrusions covering its head and limbs. However, its most defining characteristic is the heavy layer of glittering golden stones embedded across its back. According to in-game research notes from Dalmo and Olimar, these mineral formations are actually a coagulated bodily fluid containing sparklium-like substances.
| Biological Feature | Description | In-Game Effect | | :--- | :--- | :--- | | Golden Stones | 6 heavy chunks of mineral armor | Acts as heavy defense; distorts mechanical sensors. | | Bioluminescent Lure | Anglerfish-like glowing antenna | Emits electromagnetic waves to confuse Onions and followers. | | Exposed Weak Spots | 3 bright red spots beneath the stones | The only areas capable of taking direct damage. |
This living ore emits a distinct scent that naturally lures prey toward the creature. Furthermore, the glowing lure on top of its head broadcasts electromagnetic waves capable of tricking your followers into believing the beast is their leader. While it cannot officially command them into a formal squad formation, this confusion frequently draws followers straight out of safety and into danger.
Where to Find the Gildemander
Throughout your playthrough, you will cross paths with this treasure-mimicking menace in specific underground domains and special narrative chapters. Knowing where it resides helps you plan your squad composition ahead of time.
| Location | Sublevel | Notable Reward / Objective | | :--- | :--- | :--- | | Doppelgänger's Den | Sublevel 4 | Thrill-Ride Track; lowers the western gate to rescue a castaway. | | Cavern for a King | Sublevel 13 | Mysterious Carriage; clears the path to the next sublevel. | | Hero's Hideaway | Surface (Shipwreck Tale) | Unlocks after defeating the Porquillion and dropping the Interstellar Radio. |
When active in an area or sublevel, your Treasure Gauge will become erratic and unreliable. Thankfully, because the creature is strictly confined to specific boss arenas, hunting down valuables remains relatively straightforward once the beast has been dealt with.
Battle Strategy and Defeating Techniques
Slicing through its 6,000 health pool requires removing its defensive shell. Each of the six golden stones on its back possesses 2,500 health and must be chipped away before you can access the three glowing red weak points hidden underneath.
Recommended Tactical Approaches
- Oatchi's Rush Attack: Utilize a fully upgraded charge ability to slam directly onto the creature's back. This launches your squad right onto the valuable armor plates and weak spots, often triggering a stun animation.
- Heavy Impact Throwing: Deploy Purple Pikmin for their immense weight and crushing impact damage, ensuring you clear away the gold plating quickly.
- Winged Air Assault: Gather a large squad of more than 40 Winged Pikmin, apply an Ultra-Spicy Spray, and rush the beast from behind. Their homing capabilities make short work of both the armor and the underlying weak spots in seconds.
Player experience highlights a major hazard during this phase: whenever a golden stone is knocked loose, any idle followers in your group will automatically swarm the fallen ore to attack it. If the boss decides to perform its slow, sweeping lick to retrieve its treasure at that moment, any followers swarming the gold will be instantly ingested and lost forever. Always keep a close whistle ready to recall your squad immediately after a stone drops.
For a deeper dive into optimal loadouts and advanced combat tactics, check out the official Nintendo Pikmin 4 Guide.
Culinary Value and Louie's Notes
For players interested in the survival survivalist logs recorded by Louie, the creature offers an unexpected culinary profile. The dense meat gives off a faint, aromatic scent reminiscent of a hot pepper, offering a subtle and elegant flavor profile. Louie suggests chargrilling the bioluminescent head lantern until completely blackened to transform it into a nutritional superfood.
Frequently Asked Questions
What is the best way to deal with the falling gold stones?
You can either manually command your squad to destroy the fallen stones entirely to prevent them from becoming a fatal distraction, or maintain strict discipline with your whistle to pull your followers away before the boss slurps them up.
How many weak points does the Pikmin 4 gildemander have?
The creature features three distinct red weak spots protected underneath its six removable golden mineral plates. All three must be shattered to secure victory.
Does the Pikmin 4 gildemander permanently disrupt the Treasure Gauge?
No. The disruption only persists while the creature is active and alive in the current sublevel or zone. Once defeated, normal functionality returns to your gear.
Can Oatchi be used safely during this boss fight?
Yes. Riding Oatchi protects your active squad from random ground swipes, and his Rush attack provides the necessary burst momentum to knock off the protective golden stones efficiently.